Fixing the plate light
In this article, Thomas and me will show how to fix the rear plate light to 140 67-72.
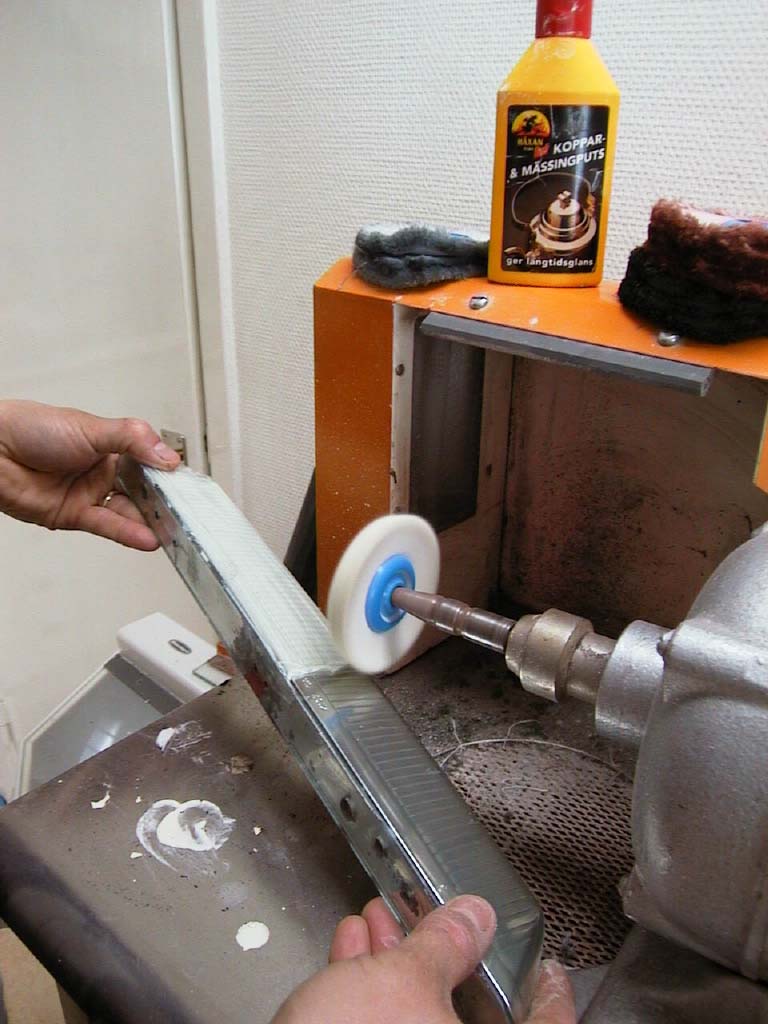
To make it worth the effort, fixing the plate light, the chrome layer under the plate light must be in good condition, beacause the thing we are going to work with here, is to the fix the yellowish and crackled plastic. If your plate light has got big cracks, and big pieces missing, you should consider finding another one instead.
A tip is to search for cars on the scrap yard, that has the plate light, the frames for the flasher lamps and tail lights covered with paint. This was a hot styling trick, which many people adopted in the 80´s, this actually preserved the plastic and the chrome layer, and protected it from being damaged by salt and the sun. I have my self found a couple frames and plate lights that have looked like brand new when the covering paint have been removed.
One of the plate lights in this article was found at SVIS, which is
a place where you also can search for one.
The thing to start off with is to dismantle the plate light from the
car, which can be a bit tricky if the heads of the screws have been damaged,
or if they are rusty. If they are stuck, you should try to drill the heads
off the screws. Do not try to bend, since that can result in a cracked
plate light.
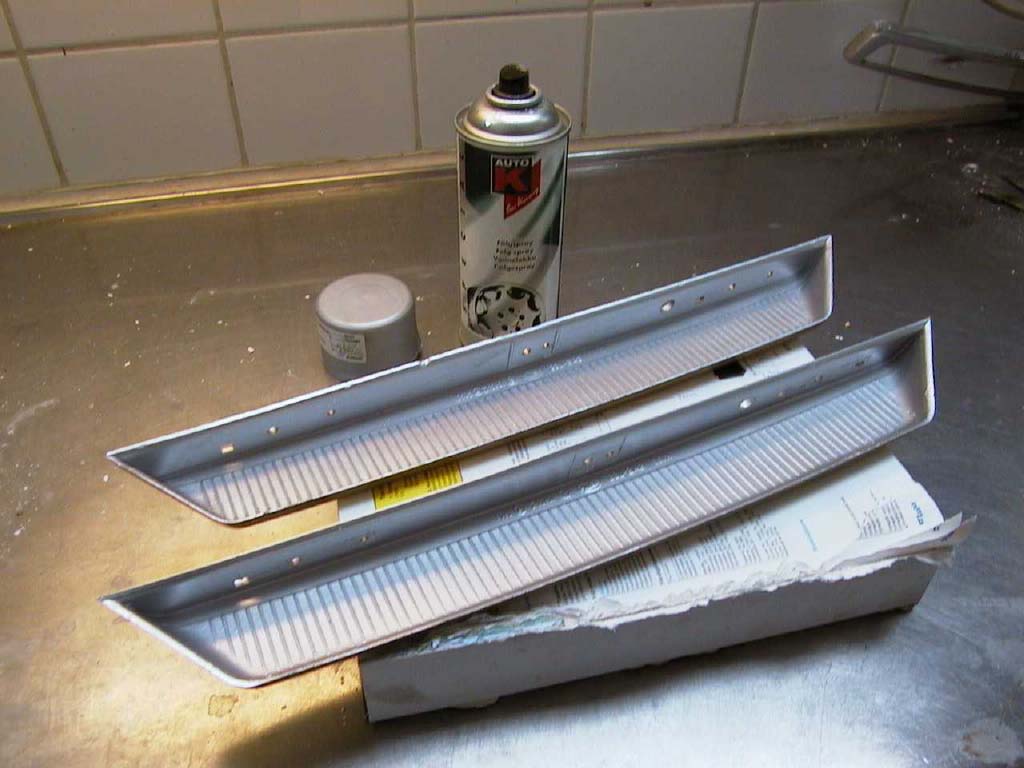
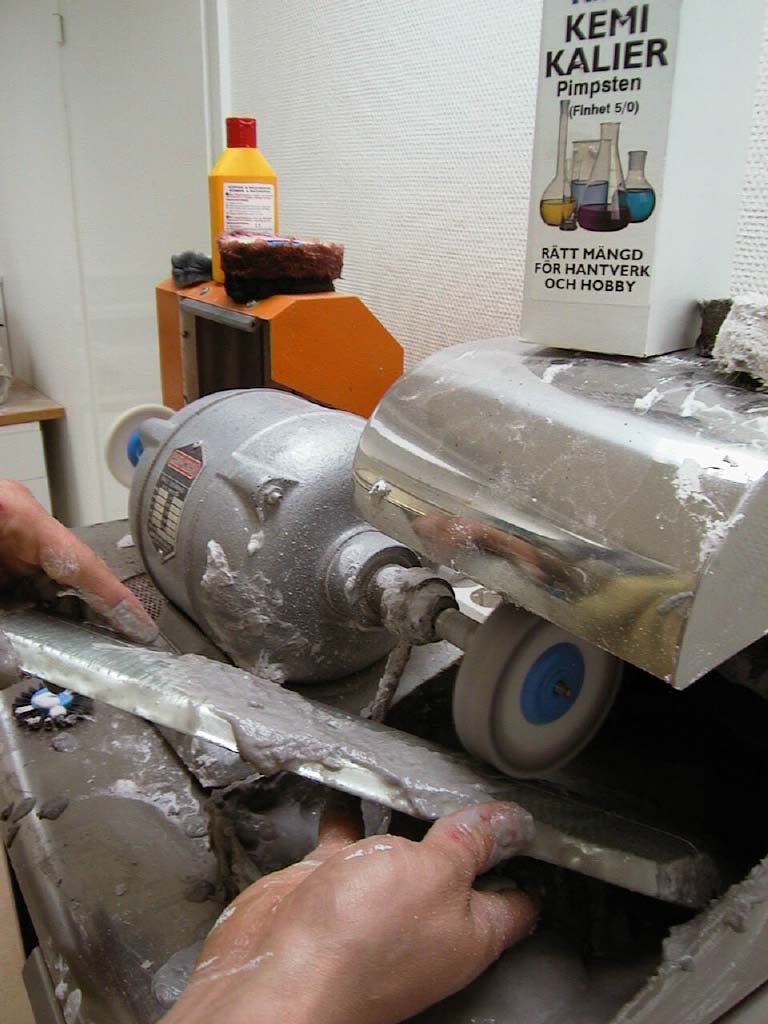
When you now have got the plate light off the car you should drill out the rivets that holds the actual plate lamps. Remove the lamps and examine them. Depending on the condition of the lamps it can be necessary to fix them too. The lamps in this article just needed a blast with sand.
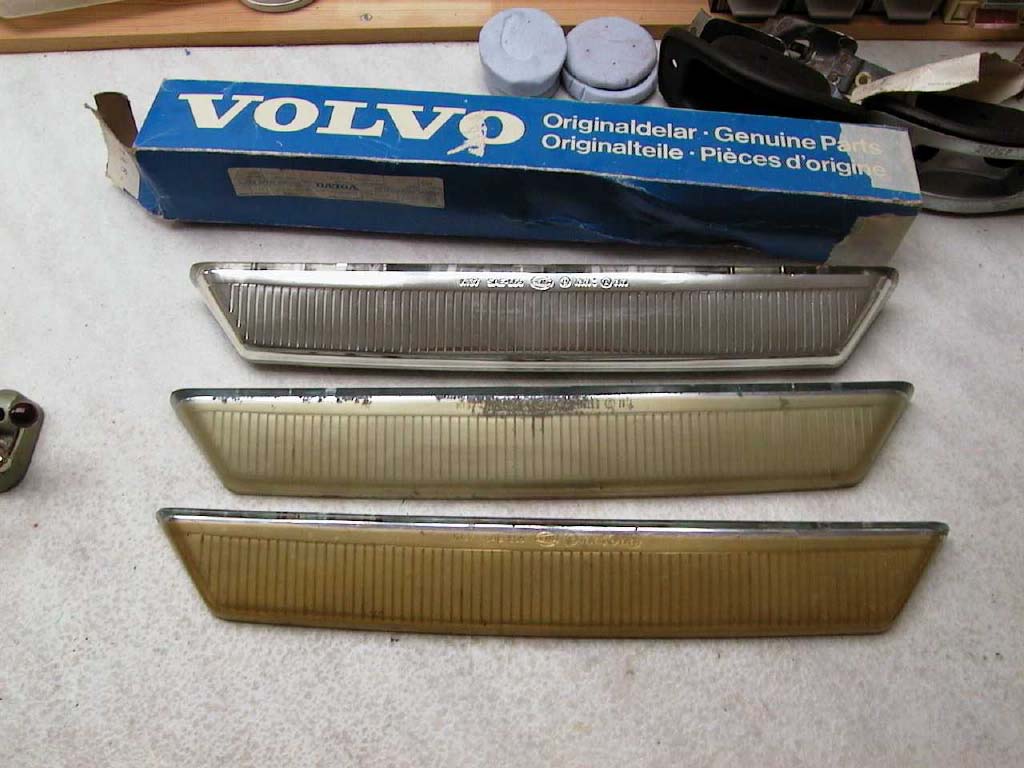
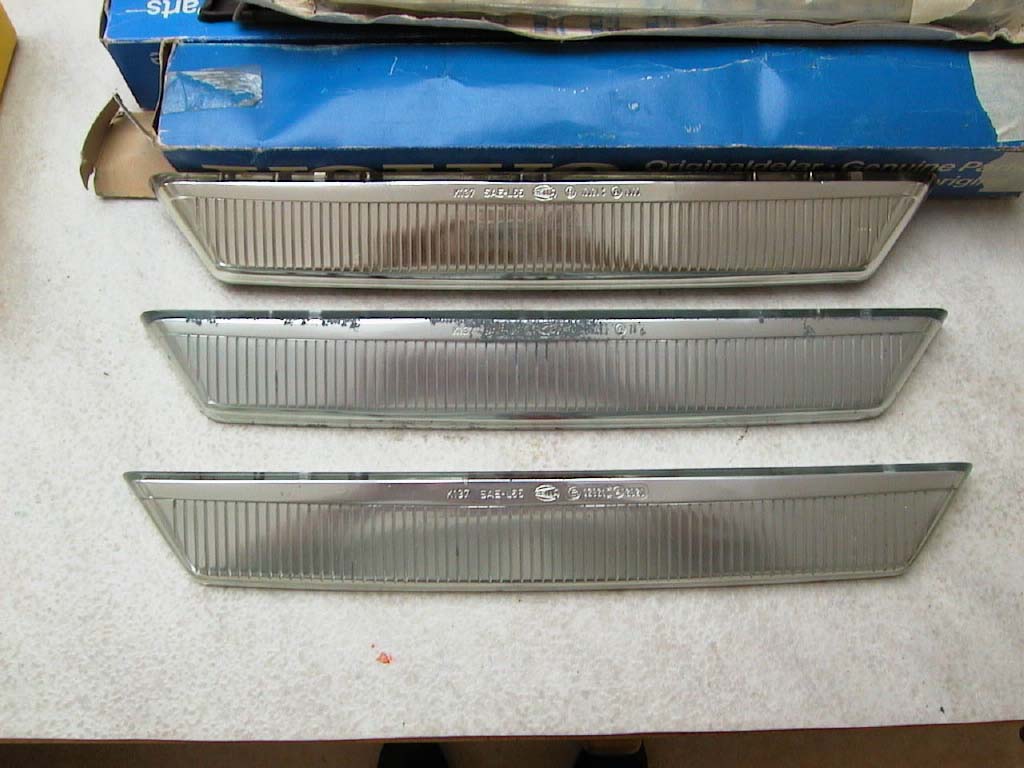
The plate light in the top is brand new. Compare it with the two below that we are going to work with! med.
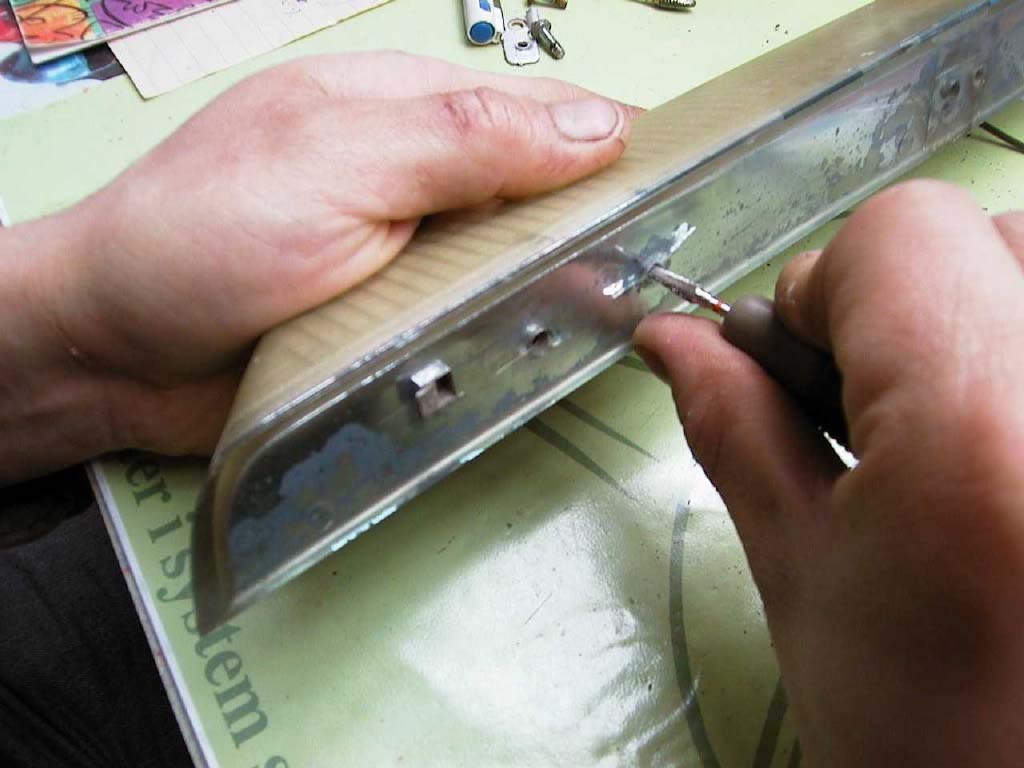
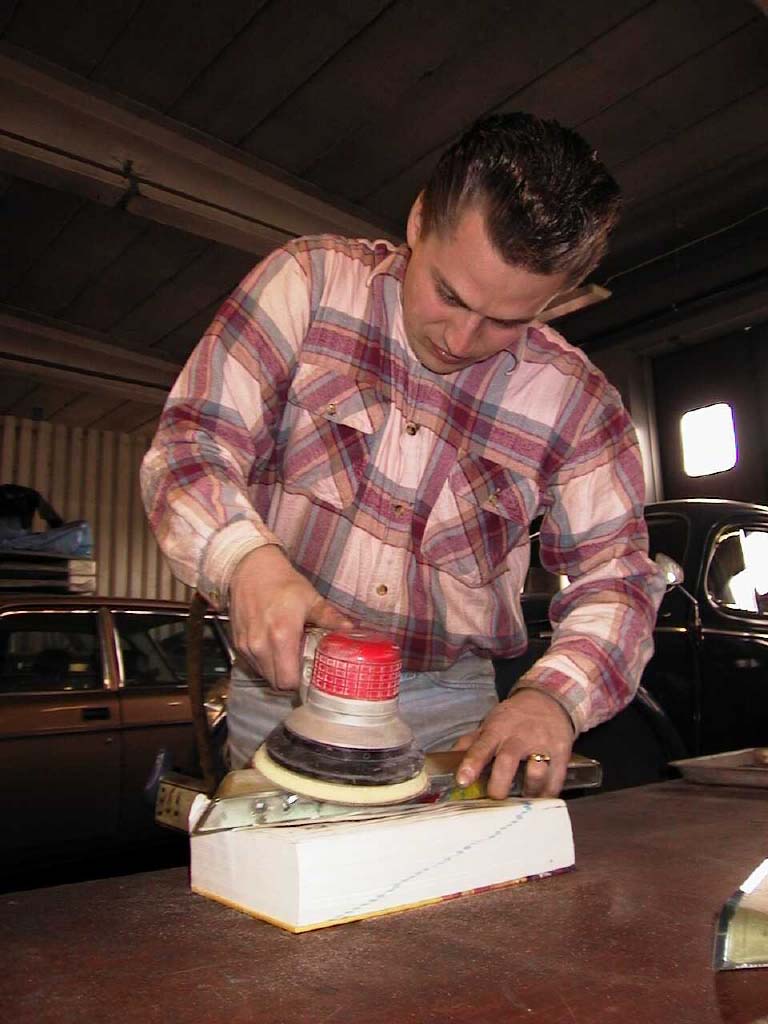
Robert drills out the rivets that holds the plate lamps. Be careful while doing this!
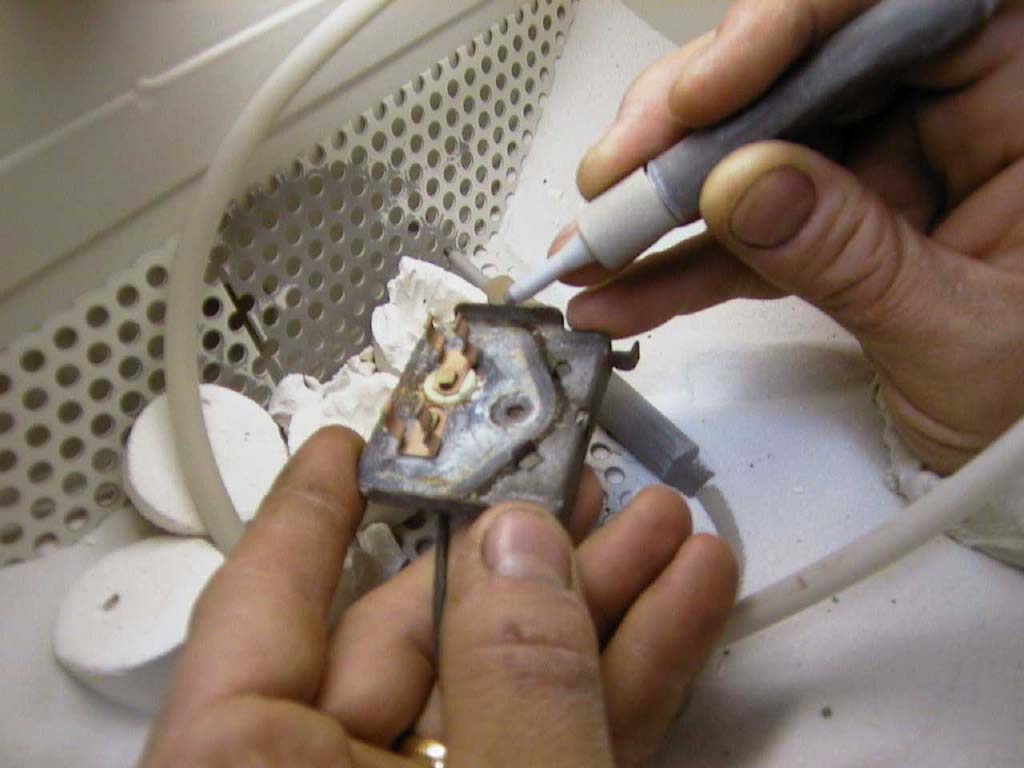
The lamps in this article just needed a blast with sand.